
Azure Active Directory Rights Management Service aka Azure Information Protection has multiple new features which takes it to new level with Secure Island automatic labeling. But what AIP actually provides?
- Classification and labeling
- Classification and labeling can be done manually or automatically with policies depending on license used. E5 covers automatic classification and labeling based on policies
- Protection and use rights
- It protects data with encryption and allows only authorized users to access the data. Cool thing is that data is protected all times, no matter where the data is stored or shared.
- Tracking and reporting
- Individual user can track shared files activities and revoke access if needed.
More information – What’s Azure Information Protection?
How it works – pre-configuration
- Azure subscription is needed to configure Azure Information Protection classification and labeling
- EMS + E5 license
- Account with Global Admin rights
- A computer running Windows (minimum of Windows 7 with Service Pack 1), and which has installed either Office Professional Plus 2016, Office Professional Plus 2013 with Service Pack 1, or Office Professional Plus 2010.
RMS Activation
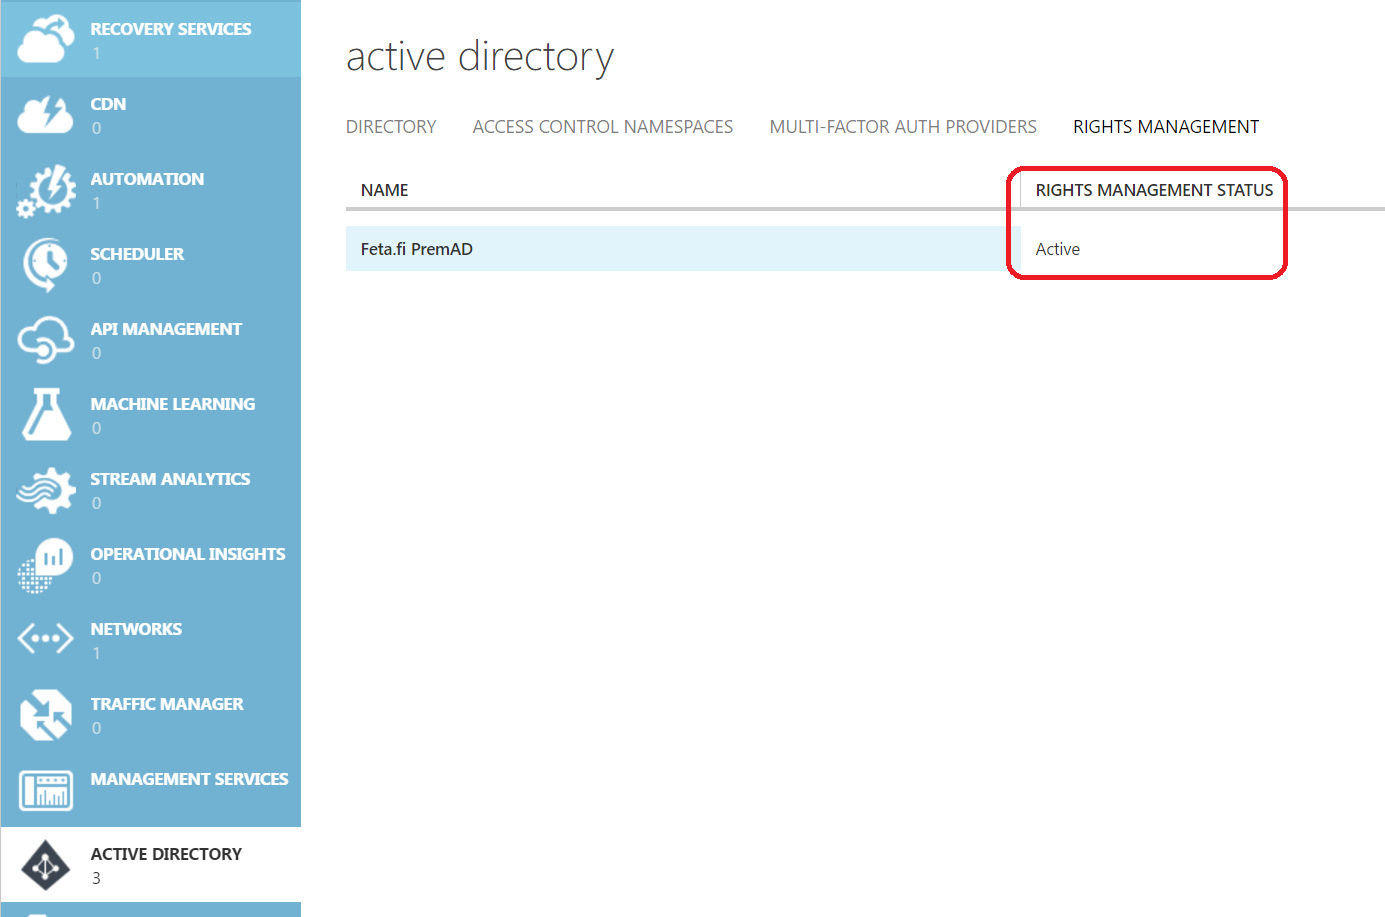
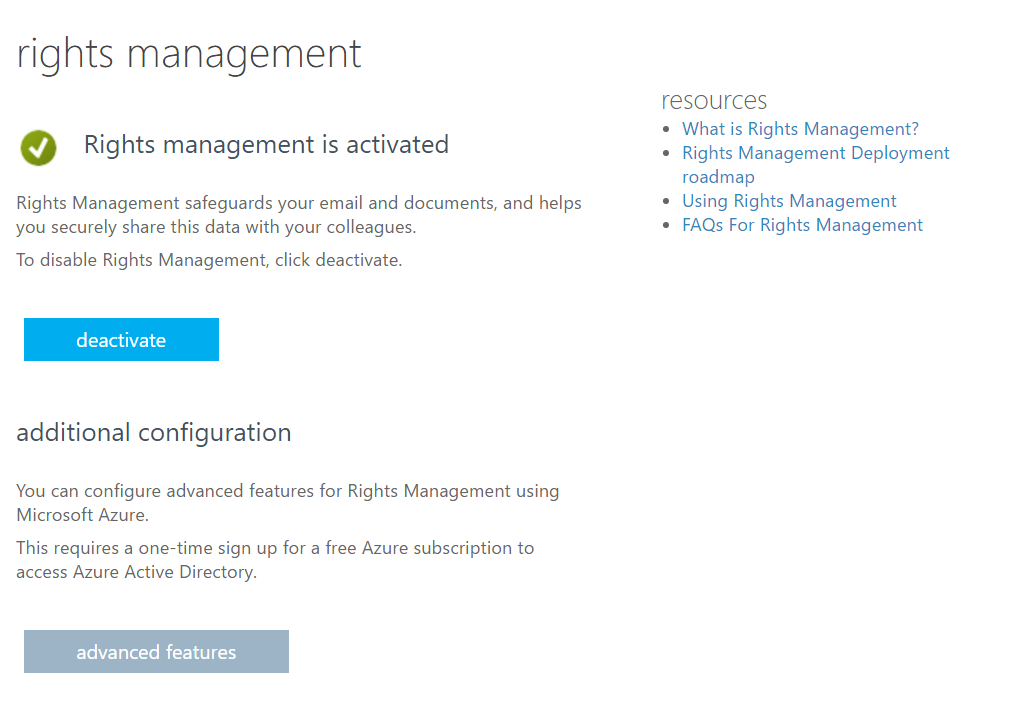
- Azure RMS activation – navigate directly to RMS activation page with account which has Global Admin permission to your tenant and activate RMS to your tenant. After activation it should look as follow from classic portal and Rights Management activation page
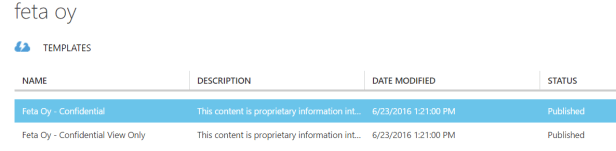
2. When activating Azure RMS it creates two default templates to tenant. Custom templates can be configured afterwards depending organization needs.
- Confidental
- Confidental View Only
Configure Policy – Global policy with Justification to see how it works
- Logon to portal.azure.com with global admin account and create Azure Identity Protection blade to your tenant
- Click New -> from MARKETPLACE -> select Security + Identity. In the Security + Identify blade, from the FEATURED APPS list, select Azure Information Protection. In the Azure Information Protection blade, click Create.
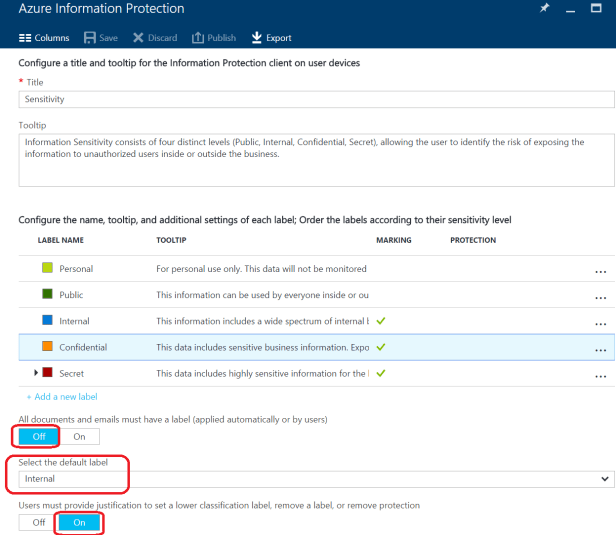
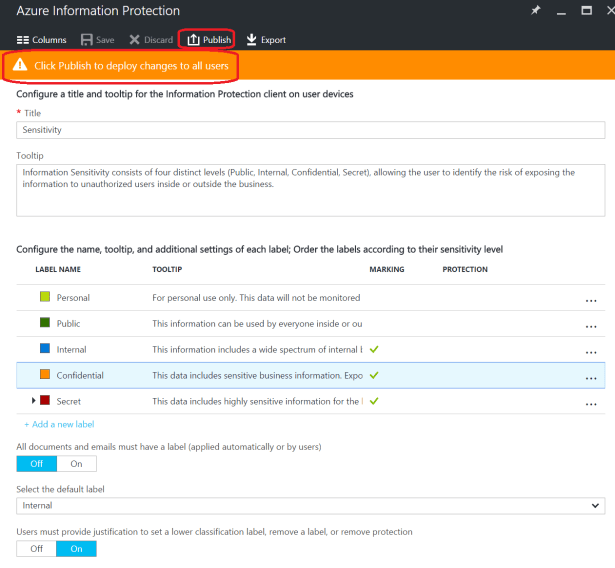
- Configure default Policy to contain following settings
- Select default label- Internal
- Users must provide justification to set a lower classification label, remove a label, or remove protection – On
3. Configuring a label for protection, a watermark, and a condition to prompt for classification
- Select Confidental and configure following settings – Select AAD RMS Template to be used
- Note: for some reason it took 24h after activation to see Azure RMS templates underneath “Label” configuration in my tenant.
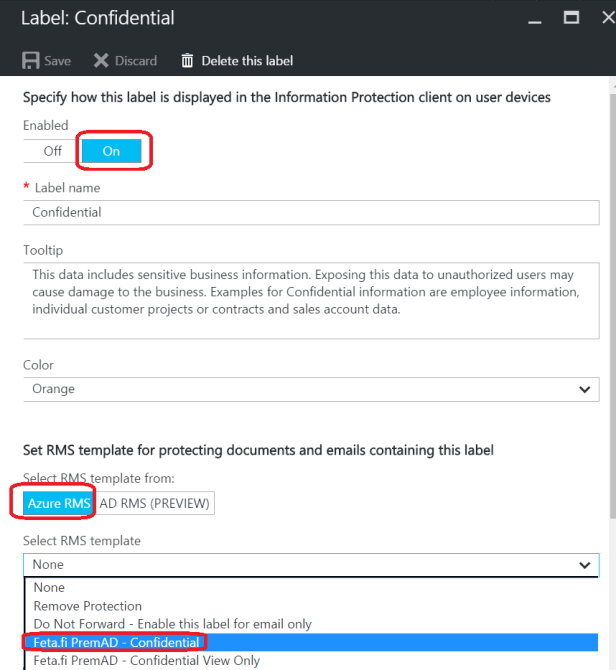
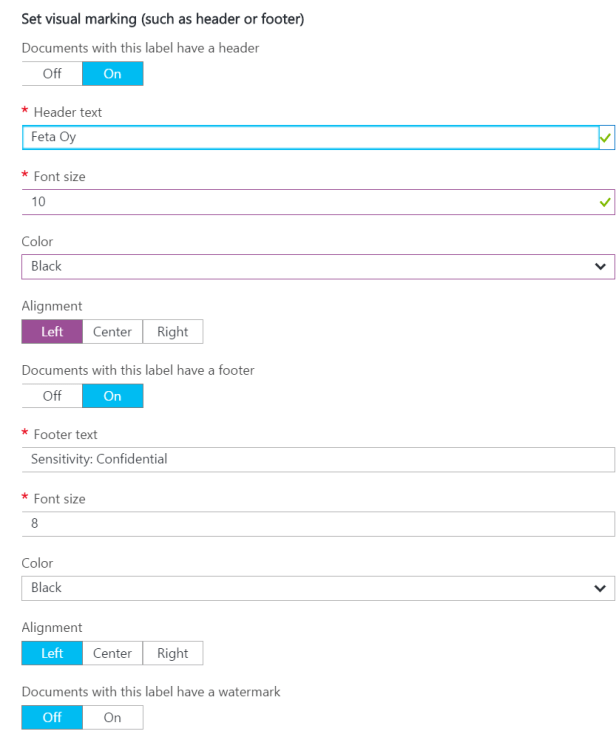
- Visual Marking – I selected “Feta Oy” as header text
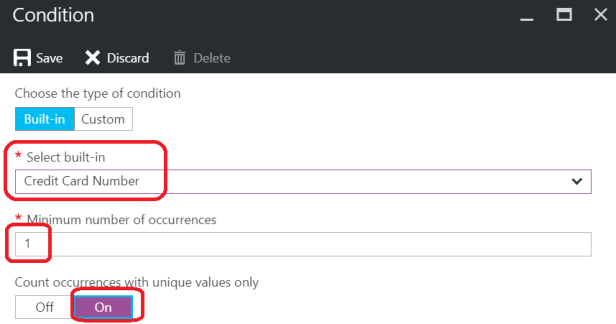
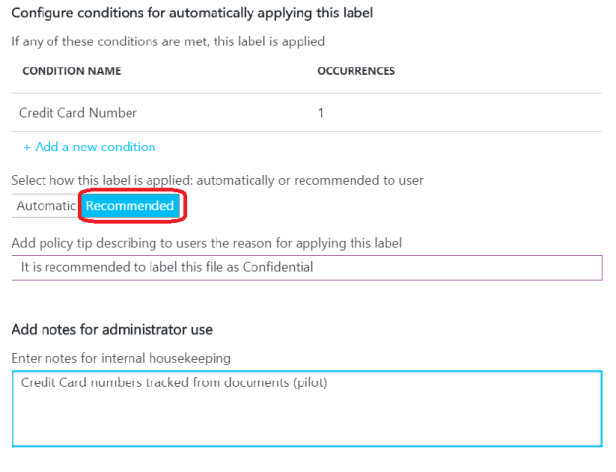
- Condition – Credit card number with 1 occurrenceses
- How label is appliced – recommended
- Then save to policy. After saving policy still needs to be published to all users
Install the Azure Information Protection client
- Download and install the Azure Information Protection client
- Download and install the Azure Rights Management Sharing client
- Verify Installations
- Open Office product, for example Word and confirm that both add-ins are added to the application
- Default labeling is also visible at bottom of the screen

Test Configuration
- Open blank Word document
- I’m searching credit card number from documents, type valid cc number to document and save it to any location
- Once you save it Information Protection finds cc numbers from it and recommends changing label as confidential regarding policy created earlier

4. Testing with Secret labeling


5. After new policy was configured and published it finds “top secret” from Word and recommends changing the labeling from Internal to Secret.

Azure Information Protection helps an organization to classify, label, and protect its documents and emails. These actions can be done automatically by administrators who define rules and conditions, manually by users, or a combination where users are given recommendations which was I used in here.
Links
